I’ve helped countless people connect their computers over the years, and I know firsthand how confusing it can be. Whether you’re looking to share files, create a local network, or extend your workspace, connecting two computers is easier than you might think.
In this guide, I’ll walk you through several proven methods to link your computers together. From simple USB connections to wireless networking, you’ll discover the best approach for your specific needs. I’ll share my experience with both Windows and Mac systems, ensuring you’ll find a solution that works regardless of your operating system.
Key Takeaways
- You can connect two computers using various methods including direct cable connections (USB, Thunderbolt), Ethernet cables, Wi-Fi, or through a local network
- Direct cable connections offer the fastest data transfer speeds, with Thunderbolt reaching up to 40 Gbps and USB 3.1 up to 10 Gbps for short-distance connections
- Setting up a local network through a router or switch is ideal for connecting multiple computers, supporting up to 254 devices in a typical home network setup
- File sharing can be enabled on both Windows and Mac systems by configuring network discovery, permissions, and security settings appropriately
- When troubleshooting connection issues, check network discovery settings, firewall configurations, and user permissions to ensure proper connectivity
How to Connect Two Computers Together
Connecting computers requires selecting the appropriate method based on physical proximity and data transfer needs.
Direct Cable Connection
Direct cable connections offer the fastest data transfer speeds between two computers at short distances. USB-to-USB cables provide speeds up to 10 Gbps with USB 3.1, while Thunderbolt cables achieve up to 40 Gbps. The required cables include:
- Data transfer cables: USB type A-to-A, USB type C-to-C, Thunderbolt 3
- Crossover Ethernet cables: CAT5e, CAT6, CAT7 for direct computer-to-computer links
- Serial cables: RS-232, older legacy connections for basic data exchange
| Connection Type | Max Speed | Effective Range |
|---|---|---|
| Ethernet LAN | 1000 Mbps | 100 meters |
| Wi-Fi 6 | 9.6 Gbps | 30 meters |
| Bluetooth 5.0 | 2 Mbps | 10 meters |
- Wired LAN: Connects through Ethernet cables to network switches or routers
- Wireless LAN: Uses Wi-Fi technology for cable-free connections
- Peer-to-Peer: Creates direct wireless links between computers
- VPN: Establishes secure connections over the internet for remote access
- Cloud Services: Enables file sharing through platforms like OneDrive, Dropbox, Google Drive
Setting Up a Direct Connection

A direct connection between two computers creates a dedicated data transfer pathway. This method delivers optimal speed for file sharing between devices located in close proximity.
Using an Ethernet Cable
I connect two computers directly using a crossover Ethernet cable, which features reversed wire pairs for direct communication. Here’s the setup process:
- Locate the Ethernet ports on both computers
- Connect each end of the crossover cable to the respective ports
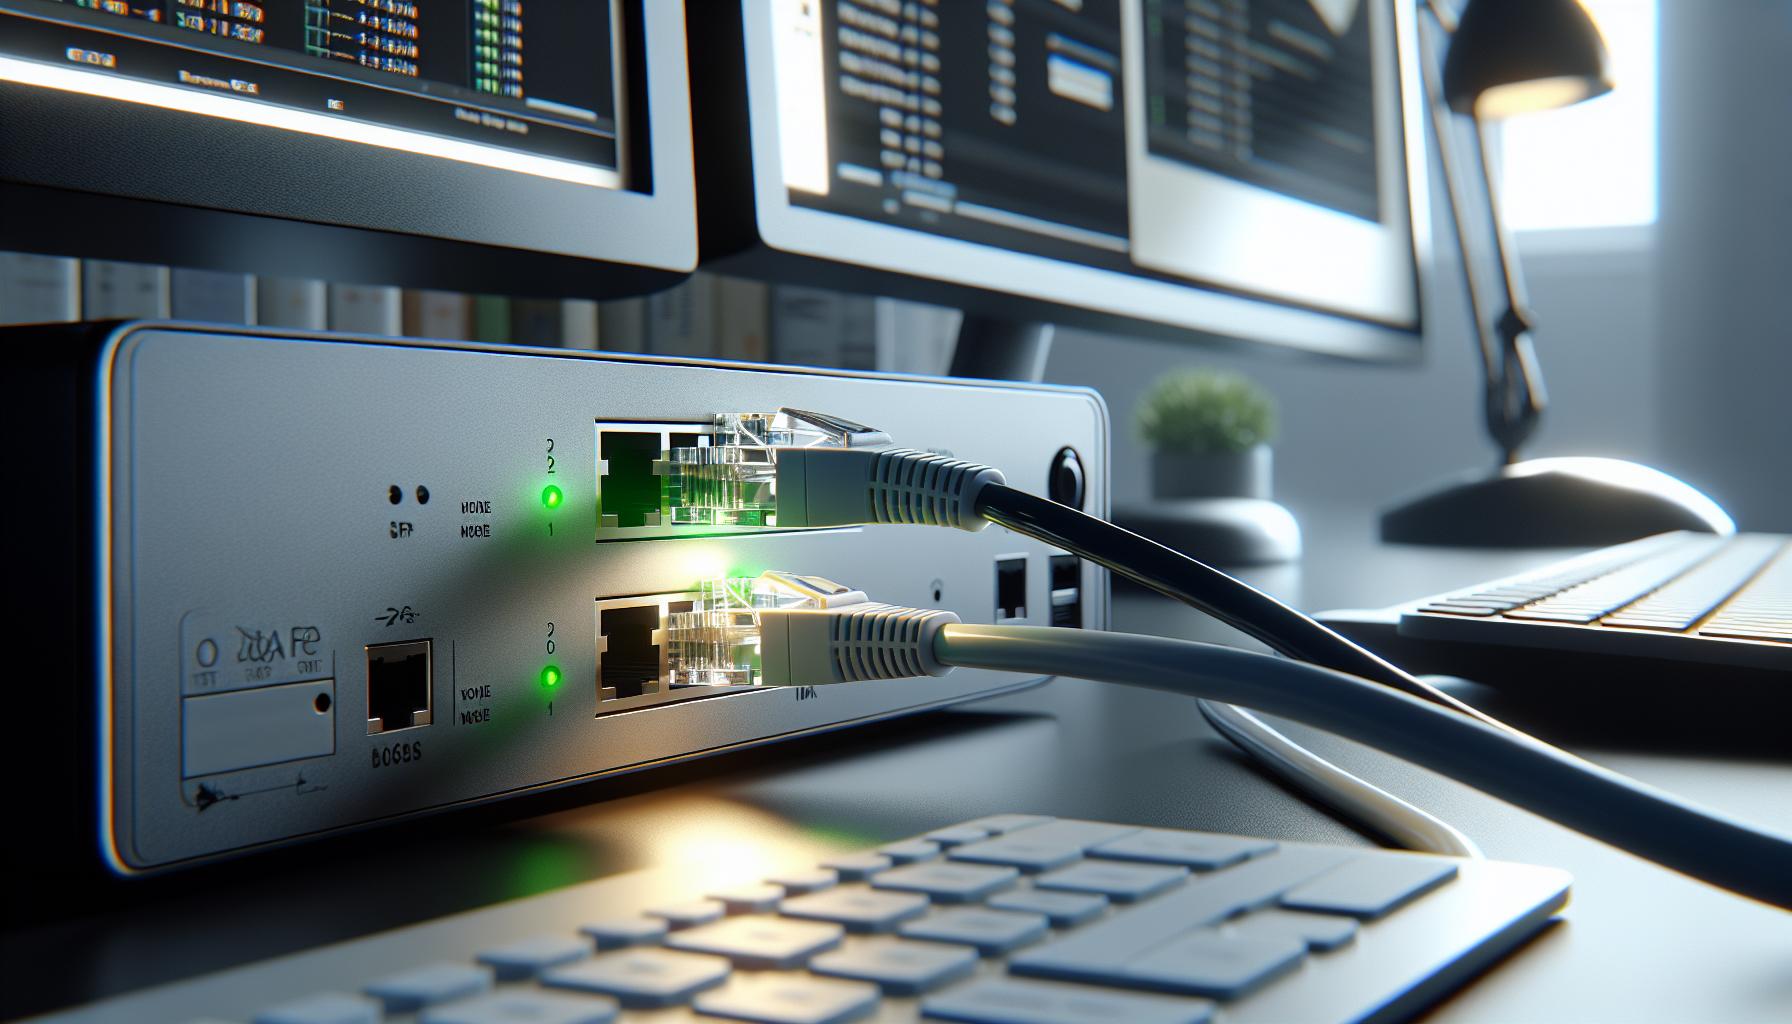
- Verify the connection status through the network indicator lights
- Wait 30 seconds for the automatic link negotiation
Note: Modern computers with Auto MDI-X support use standard Ethernet cables for direct connections.
- Access network settings:
- Windows: Network & Internet Settings
- Mac: System Preferences > Network
- Set static IP addresses:
- Computer 1: 192.168.0.1
- Computer 2: 192.168.0.2
- Subnet mask: 255.255.255.0
- Enable file sharing:
- Windows: Turn on Network Discovery
- Mac: Enable File Sharing in Sharing Preferences
| Connection Type | Maximum Speed | Typical Use Case |
|---|---|---|
| Cat5e Cable | 1 Gbps | Home networking |
| Cat6 Cable | 10 Gbps | Office setups |
| Cat7 Cable | 100 Gbps | Data centers |
Connecting Through a Local Network

Local network connectivity enables multiple computers to share data through a shared infrastructure. Networks create a centralized system for file sharing data transfer between connected devices.
Using a Router or Switch
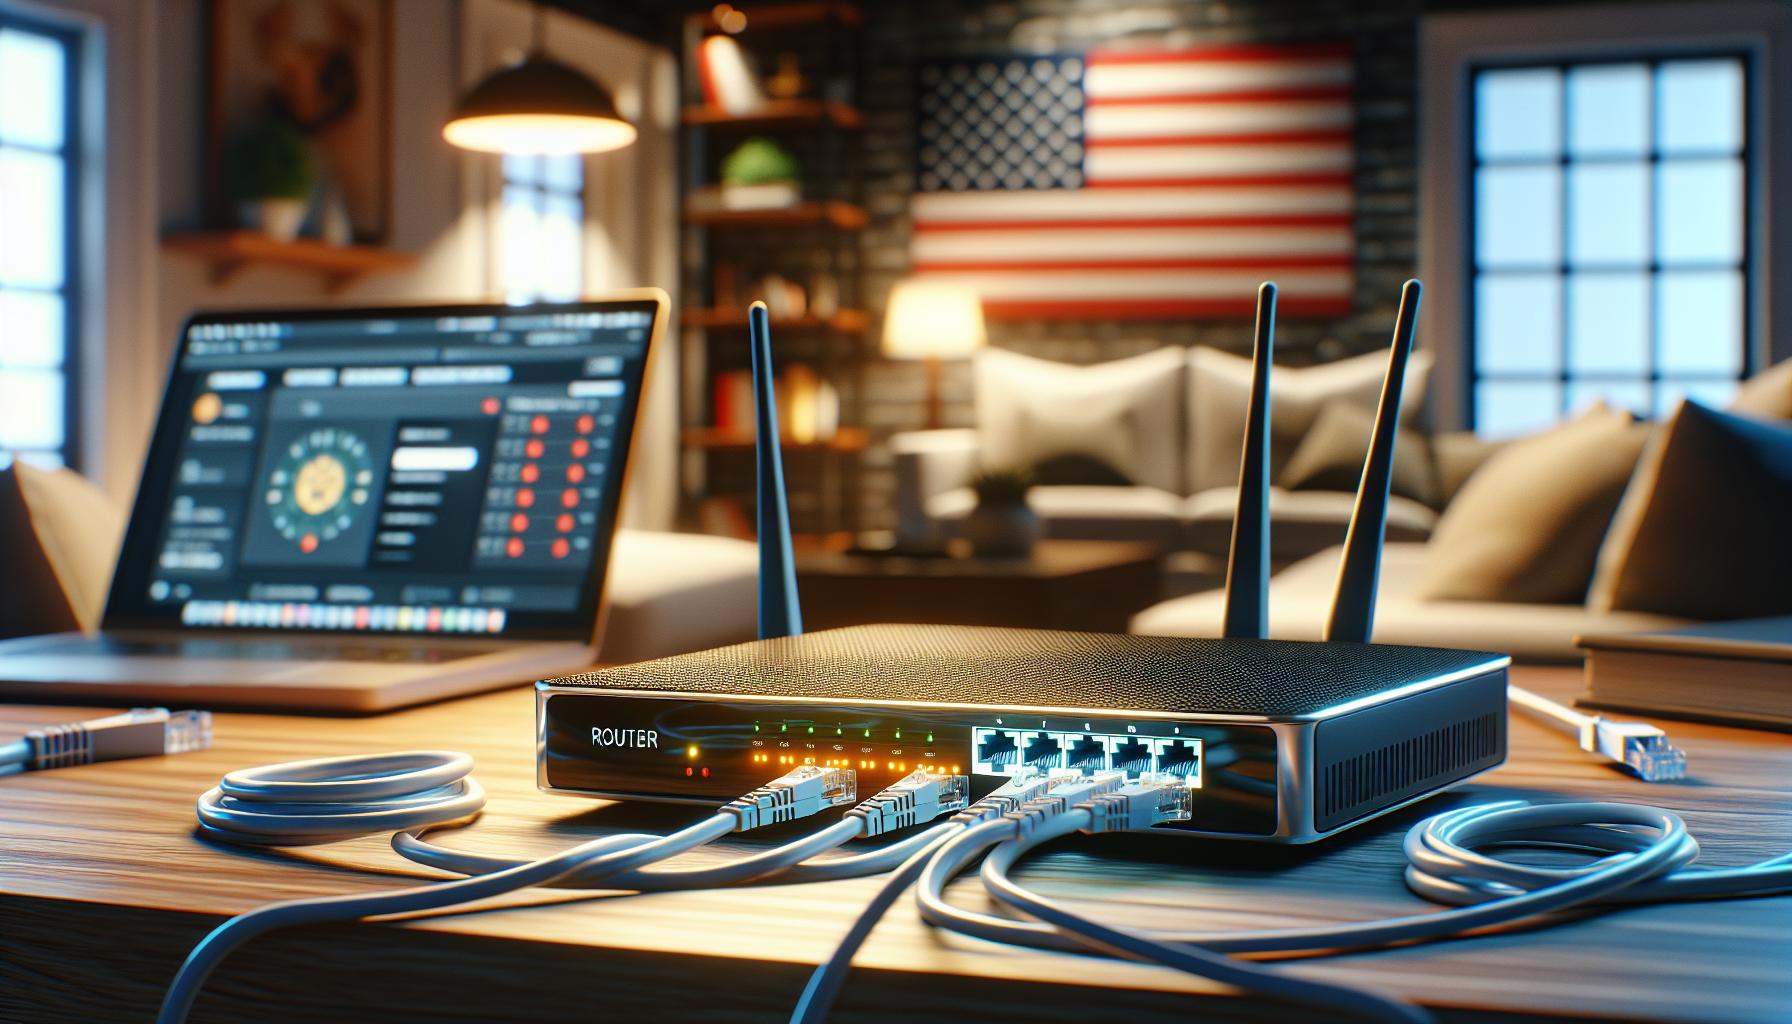
A router or switch functions as the central hub for connecting multiple computers in a local network. Here’s how to set up the connection:
- Connect each computer to the router/switch using standard Ethernet cables
- Plug one end into the computer’s Ethernet port
- Insert the other end into any available LAN port on the router/switch
- Verify the connection status through the network indicator lights
- Enable network discovery on each computer
| Device Type | Typical Ports | Max Connected Devices |
|---|---|---|
| Home Router | 4-8 LAN ports | 254 devices |
| Network Switch | 5-48 ports | Depends on port count |
- Access network settings
- Windows: Network & Internet Settings > Change adapter options
- Mac: System Preferences > Network
- Configure IPv4 settings
- Set IP address: 192.168.1.x (x = unique number 2-254)
- Subnet mask: 255.255.255.0
- Default gateway: Router IP (typically 192.168.1.1)
- Enable file sharing
- Windows: Turn on Network Discovery in Network Settings
- Mac: Enable File Sharing in Sharing Preferences
| Setting Type | Example Value | Purpose |
|---|---|---|
| IP Range | 192.168.1.2-254 | Unique device identification |
| Subnet Mask | 255.255.255.0 | Network segmentation |
| Gateway | 192.168.1.1 | Router connection point |
Establishing File Sharing Between Computers

File sharing enables seamless data transfer between connected computers through network protocols. I’ll explain specific steps for both Windows and Mac systems to set up secure file sharing connections.
Windows File Sharing
- Enable Network Discovery:
- Open Control Panel > Network and Sharing Center
- Click “Change advanced sharing settings”
- Turn on network discovery network file sharing
- Share a Specific Folder:
- Right-click the folder to share
- Select “Properties” > “Sharing” tab
- Click “Share” select users to grant access
- Set appropriate permissions (Read/Write)
- Access Shared Files:
- Open File Explorer
- Click “Network” in the left sidebar
- Locate the shared computer name
- Enter credentials when prompted
- Security Settings:
- Use password-protected sharing
- Set specific user permissions
- Enable 128-bit encryption
- Restrict access to authorized users
- Enable File Sharing:
- Open System Preferences > Sharing
- Check “File Sharing” box
- Click “Options” to configure SMB sharing
- Select user accounts to enable
- Configure Shared Folders:
- Click “+” under Shared Folders
- Select folders to share
- Set user permissions (Read/Write)
- Add specific users as needed
- Connect to Shared Folders:
- Click Finder > Go > Network
- Select the target Mac
- Click “Connect As”
- Enter authorized credentials
- Advanced Options:
- Enable encrypted SMB connections
- Set custom port numbers
- Configure firewall settings
- Monitor connected users
| Operating System | Default Protocol | Maximum Users | Security Features |
|---|---|---|---|
| Windows | SMB | 20 | Password Protection, Encryption |
| macOS | SMB/AFP | Unlimited | TLS Encryption, Keychain |
Troubleshooting Common Connection Issues
Connection issues between computers stem from various technical factors that affect network connectivity and file sharing capabilities. Here’s how to address the most frequent problems you’ll encounter.
Network Discovery Problems
Network discovery failures prevent computers from detecting each other on the same network. To resolve this:
- Check Windows Services
- Verify “Network Discovery” is enabled in Control Panel
- Ensure “Function Discovery Provider Host” service runs automatically
- Confirm “SSDP Discovery” service is active
- Firewall Settings
- Allow network discovery through Windows Defender
- Open TCP ports 139 445 for SMB file sharing
- Enable UDP ports 137 138 for NetBIOS
- Network Profile
- Set network to “Private” instead of “Public”
- Enable network discovery for current profile
- Restart network adapter after changes
- Share Permissions
- Grant “Read” or “Full Control” to specific users
- Add users to appropriate security groups
- Remove inherited permissions if conflicting
- NTFS Permissions
- Set folder-level permissions correctly
- Apply “Read Execute” for basic access
- Enable “Modify” for full file operations
- User Account Settings
- Verify user accounts exist on both computers
- Match username password combinations
- Enable password-protected sharing if needed
| Permission Level | Access Type | Recommended Use |
|---|---|---|
| Read | View files | General sharing |
| Read Execute | Run programs | Application access |
| Modify | Change content | Collaborative work |
| Full Control | Complete access | Admin purposes |
Wireless Networking
Connecting two computers doesn’t have to be a daunting task. I’ve shown you several reliable methods from direct cable connections to wireless networking that’ll suit your specific needs. Whether you’re using Windows or Mac the principles remain the same and the process is straightforward when you follow the right steps.
Remember to always prioritize security when setting up your connections and don’t hesitate to revisit the troubleshooting section if you encounter any issues. I’m confident that with this guide you’ll be able to establish a stable and efficient connection between your computers for seamless file sharing and data transfer.
Stay connected and happy computing!


